Net2phone how to forward a phone number
Below, we will provide instructions on how to forward one of your phone numbers to an external phone number. This practice is useful in case of a power outage or if you don't have access to your phones for any reason. You can forward your main phone number to an external cell phone or an alternate number so you don't miss any calls.
This guide consists of two main steps. First, you will create a "Ring Group" where you'll manage the phone numbers you want to forward. Next, you'll need to direct the number you want to forward from to the Ring Group with the external number.
If you require further assistance, please don't hesitate to reach out to us at 732.363.9898 or via email at support@empiretelecomnj.com.
 Step one would be to login to the online platform by clicking the following link net2phone Portal Login for instructions on how to login for the first time please see this article. How to login to the net2phone portal
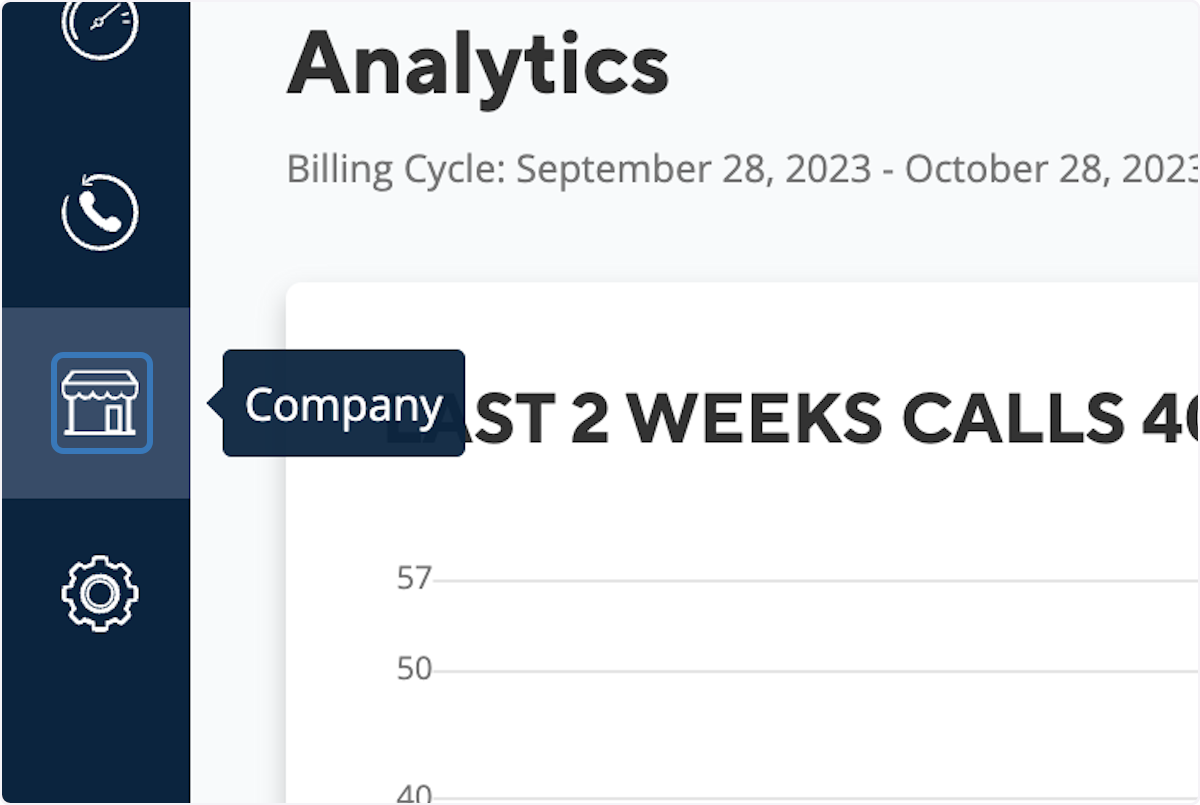
 1. Click on Company
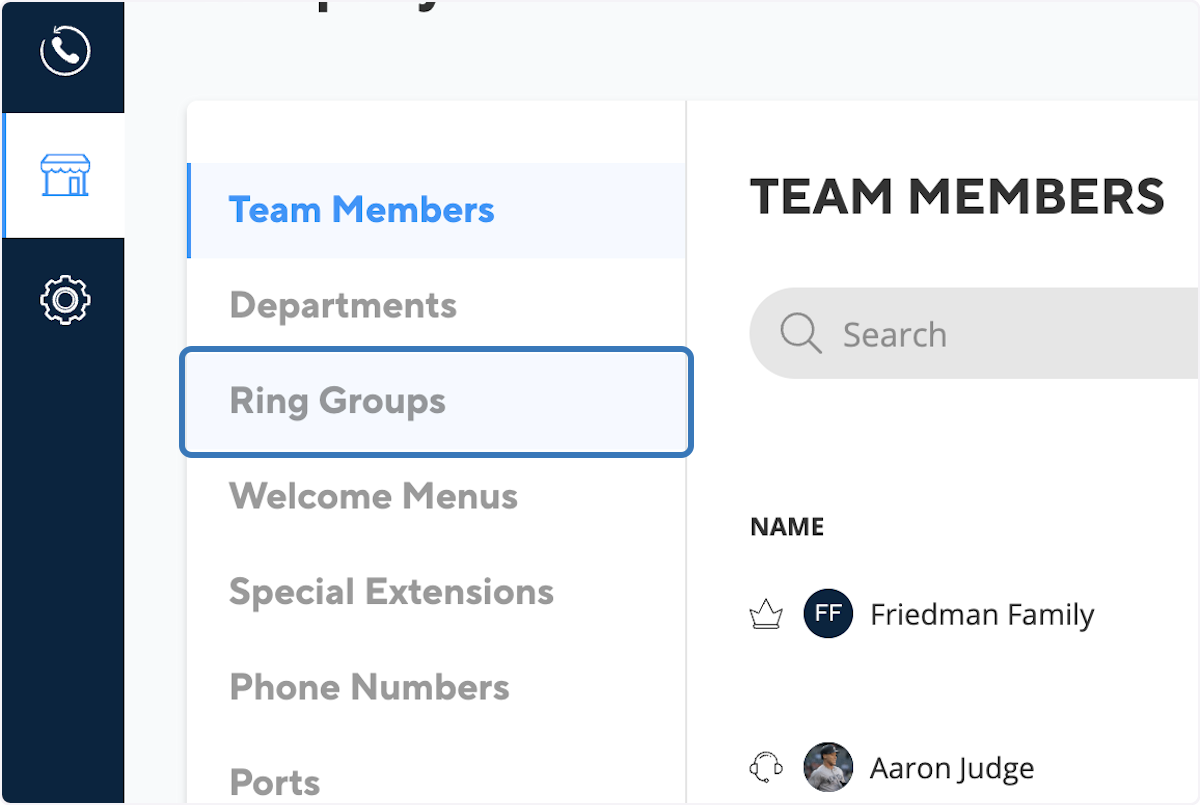
2. Click on Ring Groups
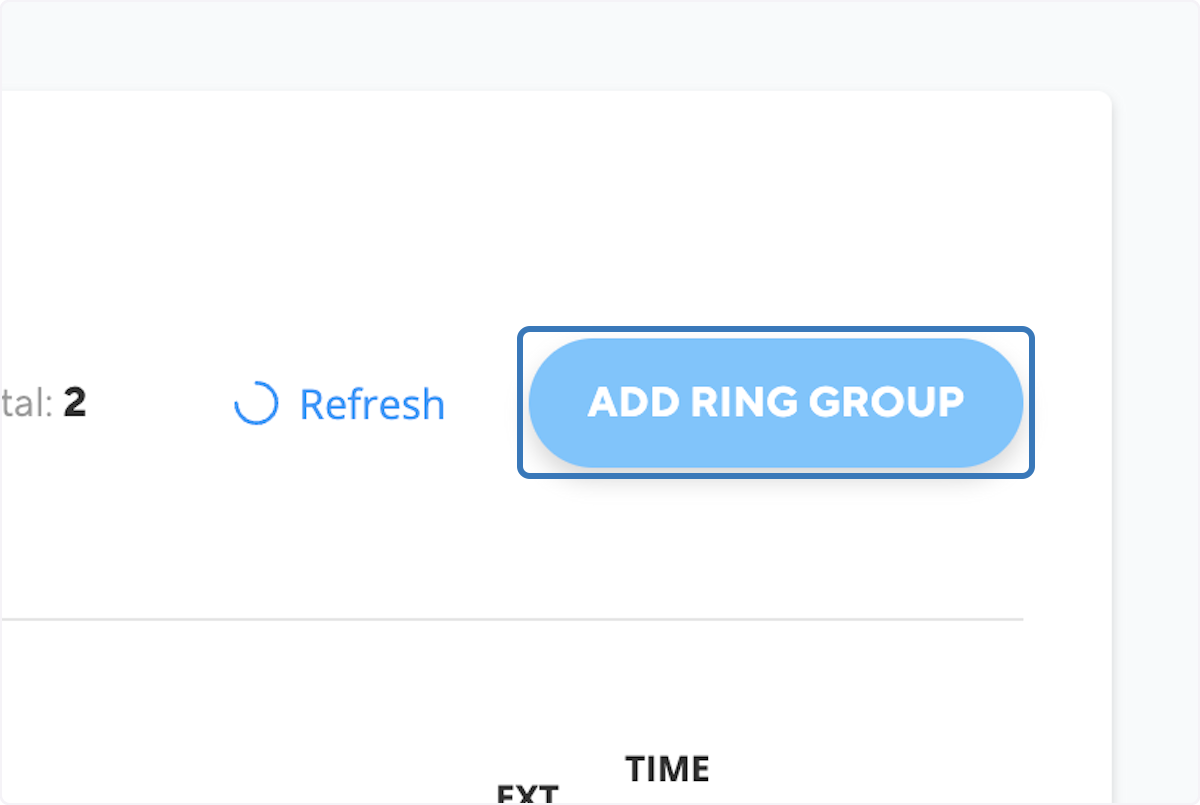
3. Click on ADD RING GROUP
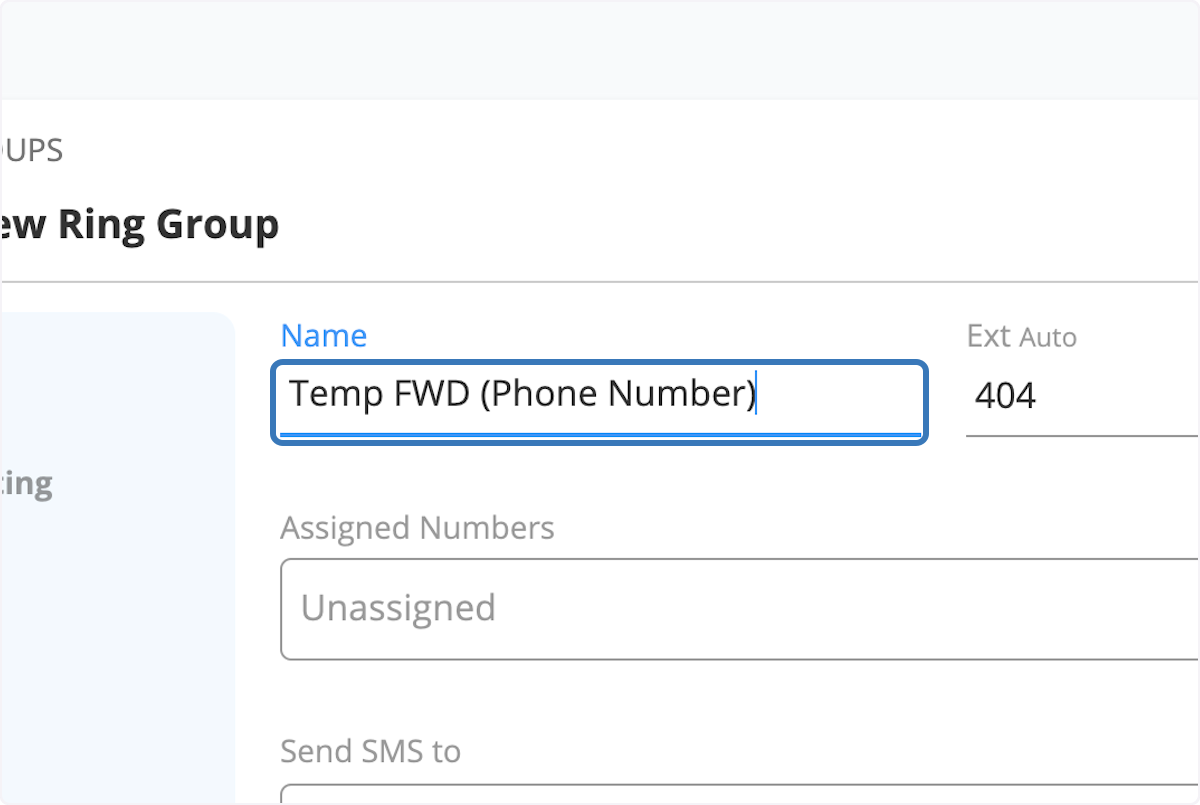
4. Name your Ring Group
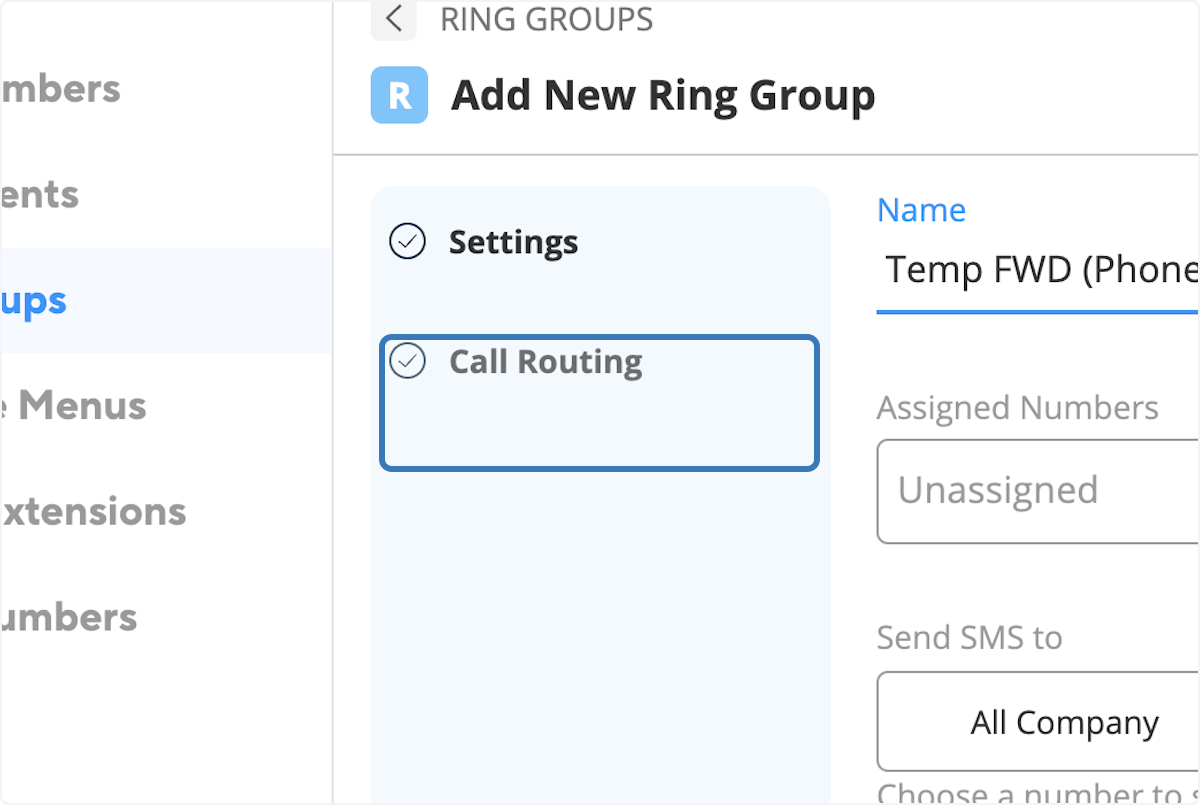
5. Click on Call Routing (Or click next)
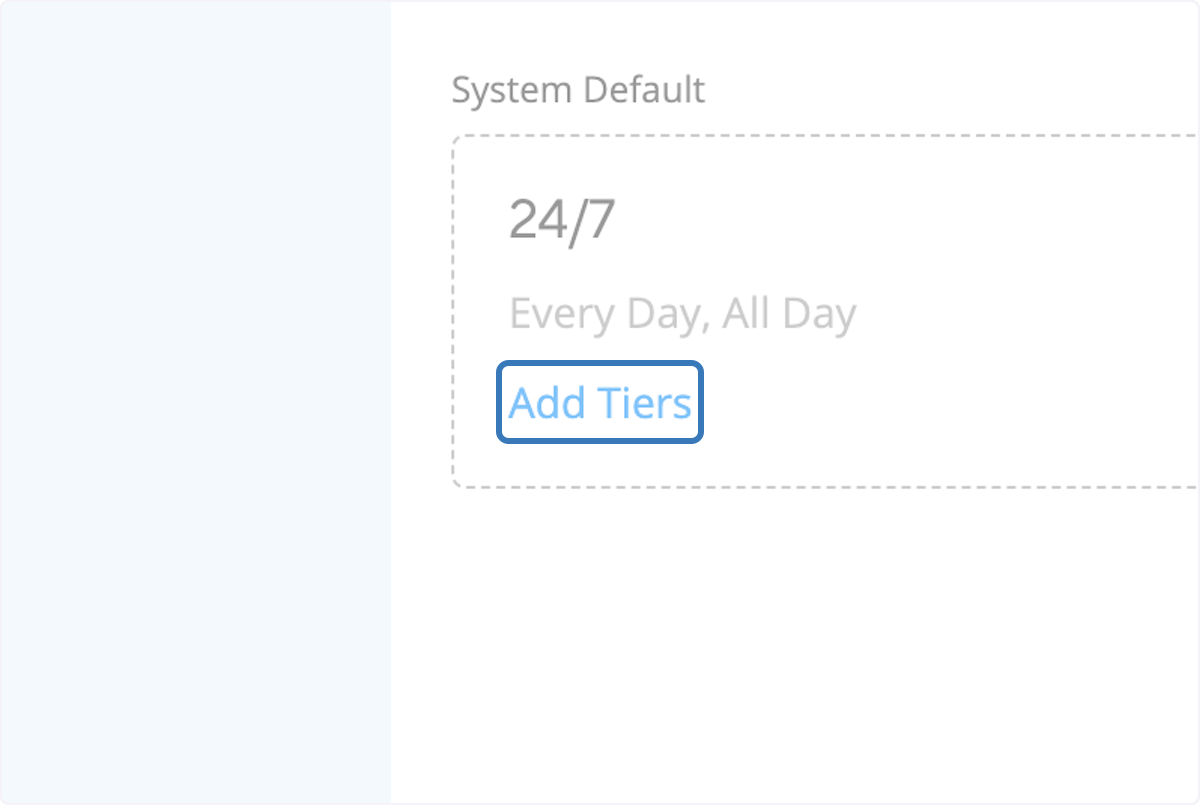
6. Click on Add Tiers
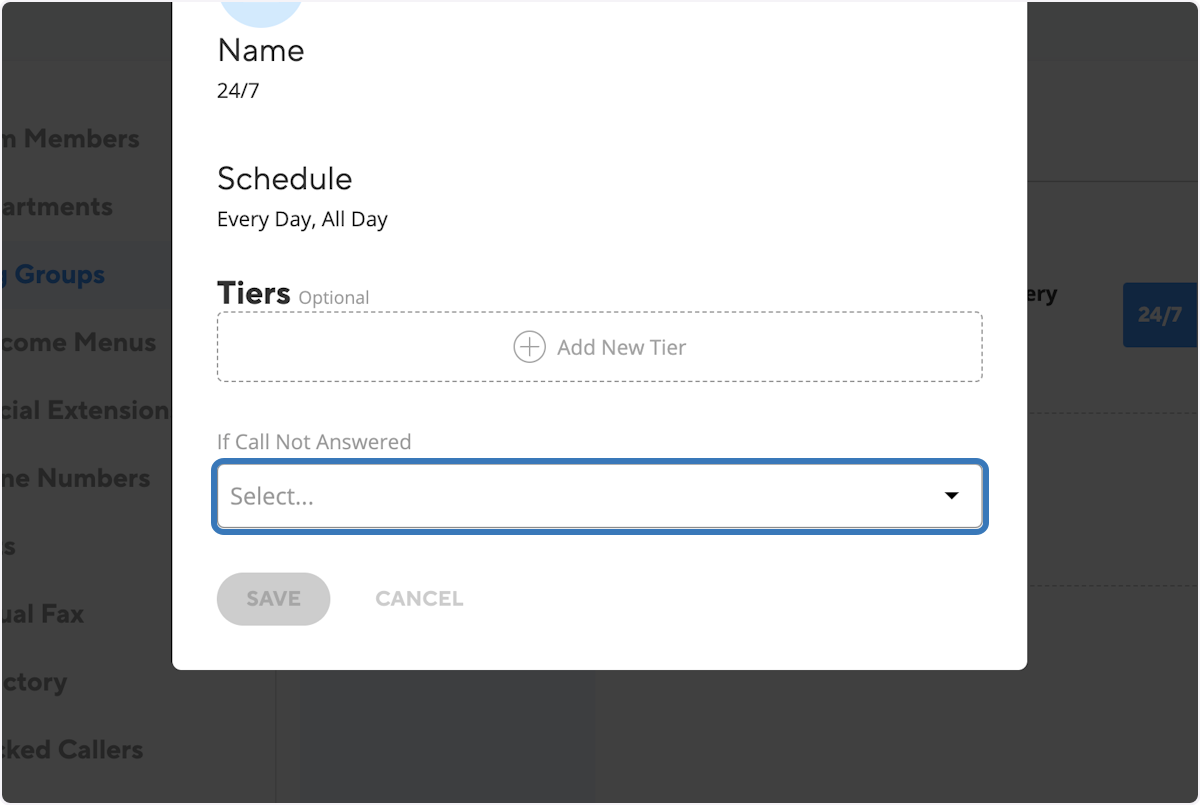
7. Under "If Call Not Answered" Click on Select...
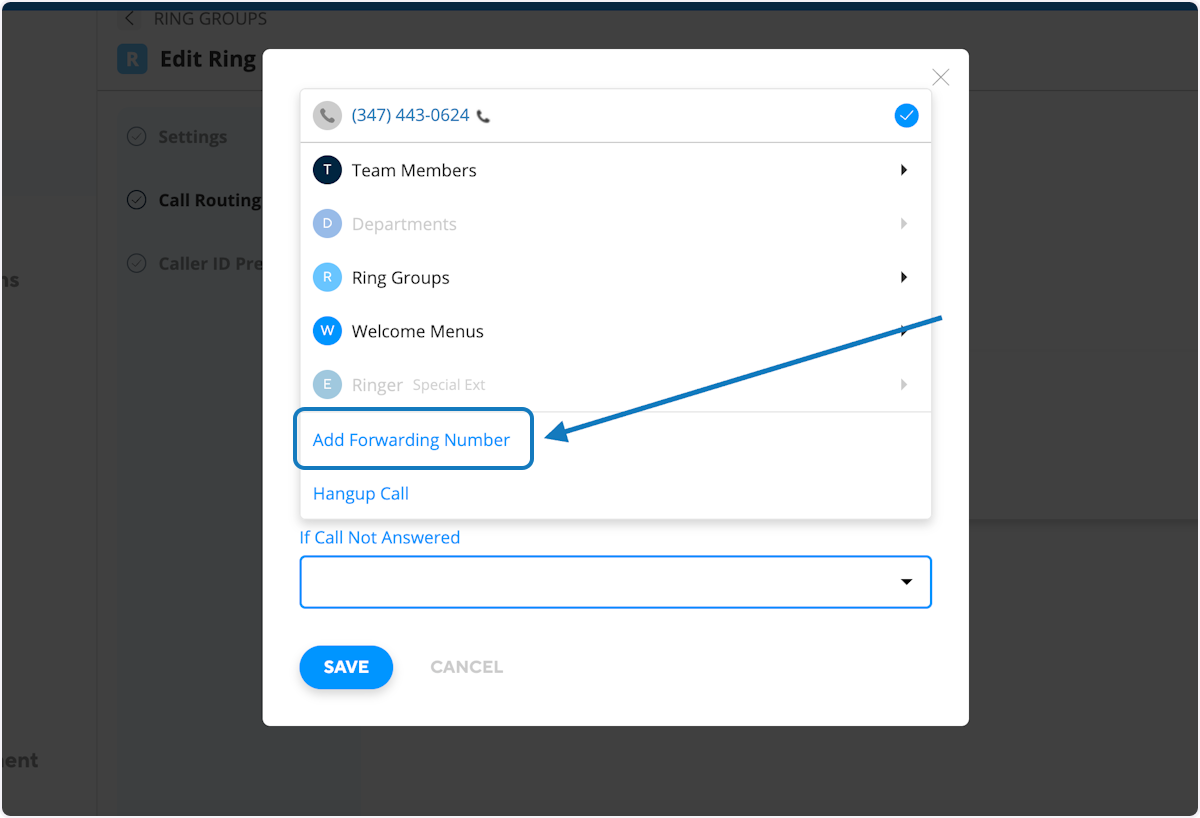
8. On the dropdown choose "Add Forwarding Number"
9. Enter the 7 digit external phone number you would like to forward to.
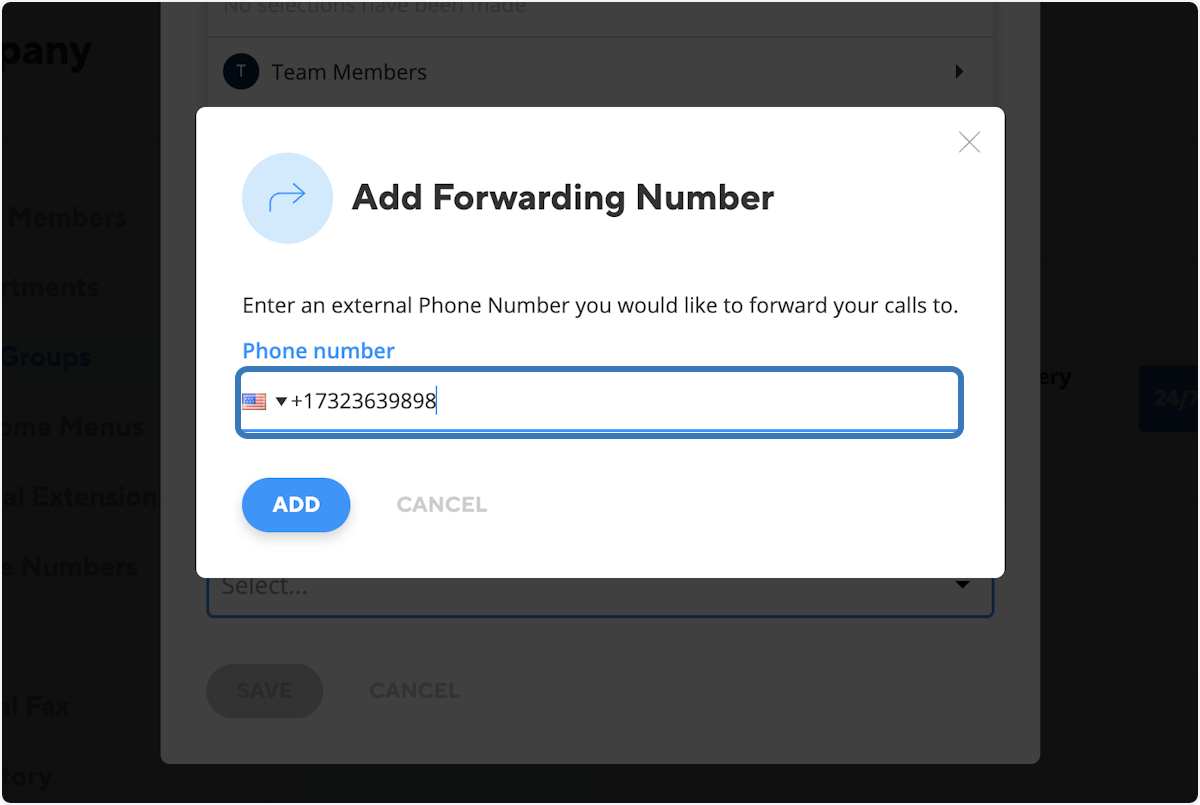
10. Click on ADD
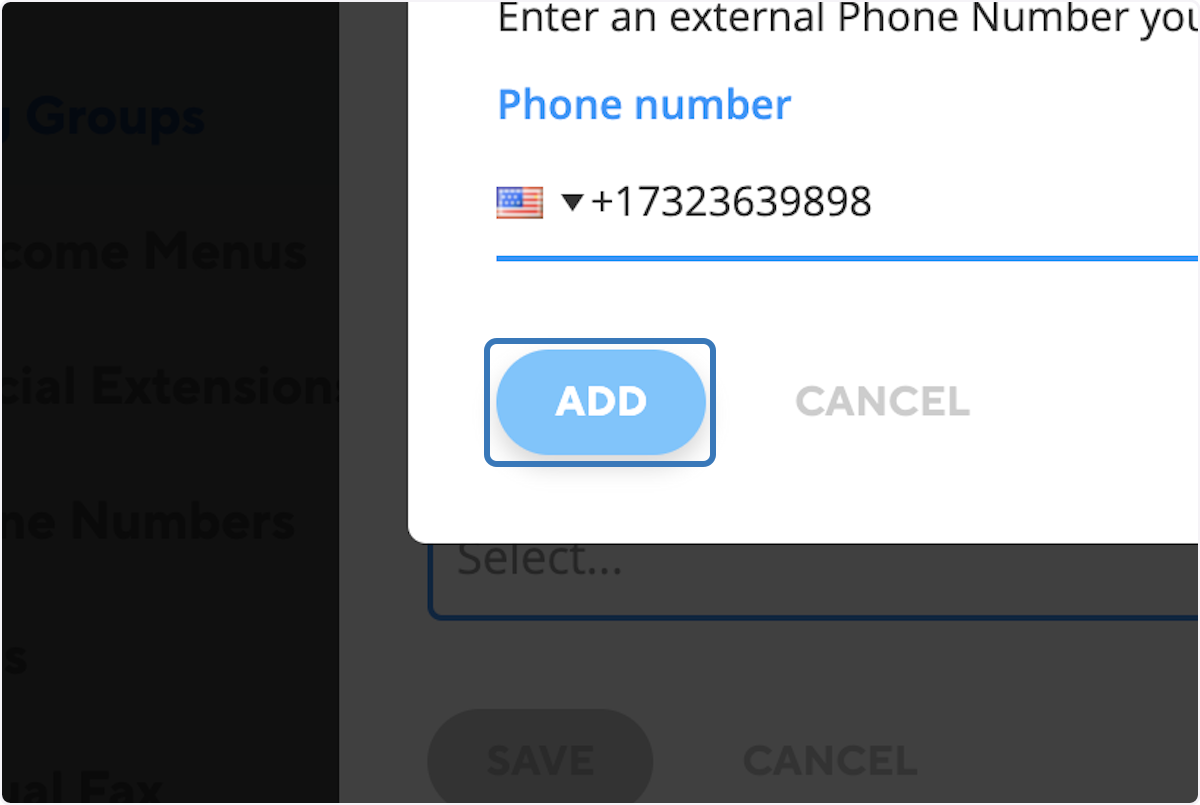
11. Click on SAVE
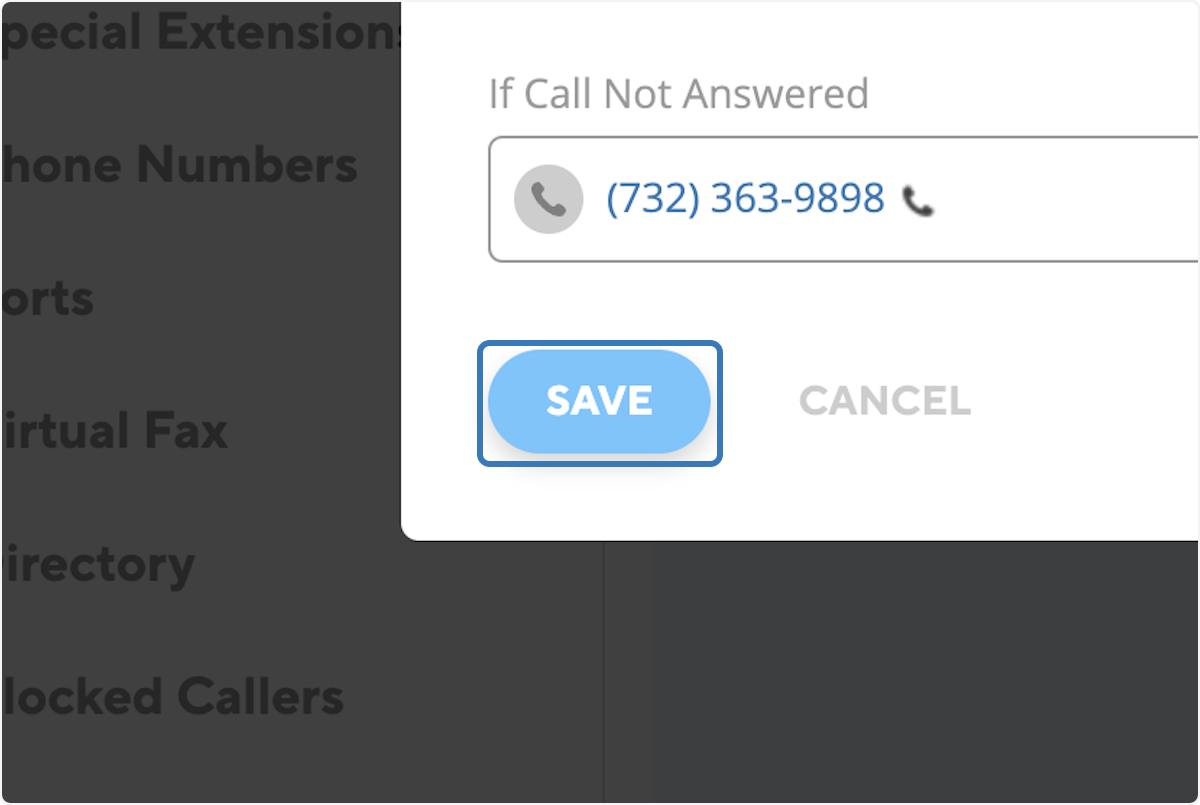
12. Then again click on SAVE, on the bottom right.

13. Click on Phone Numbers
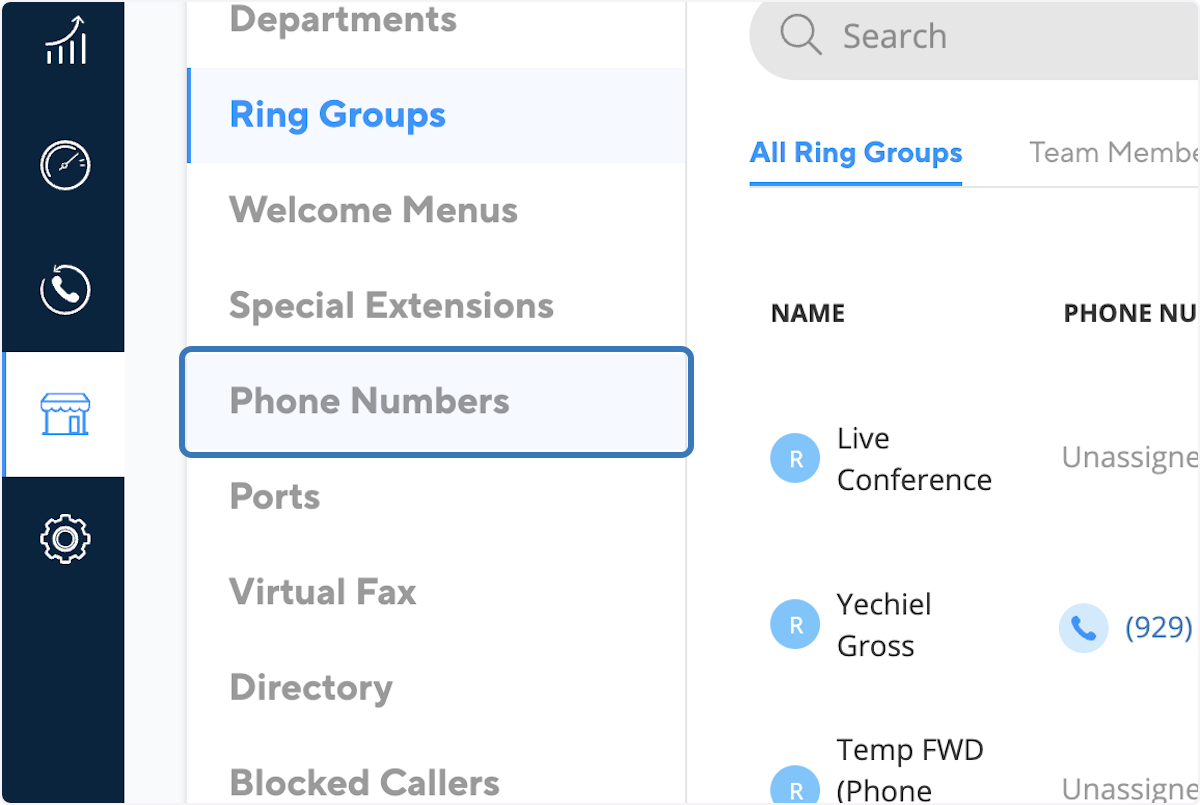
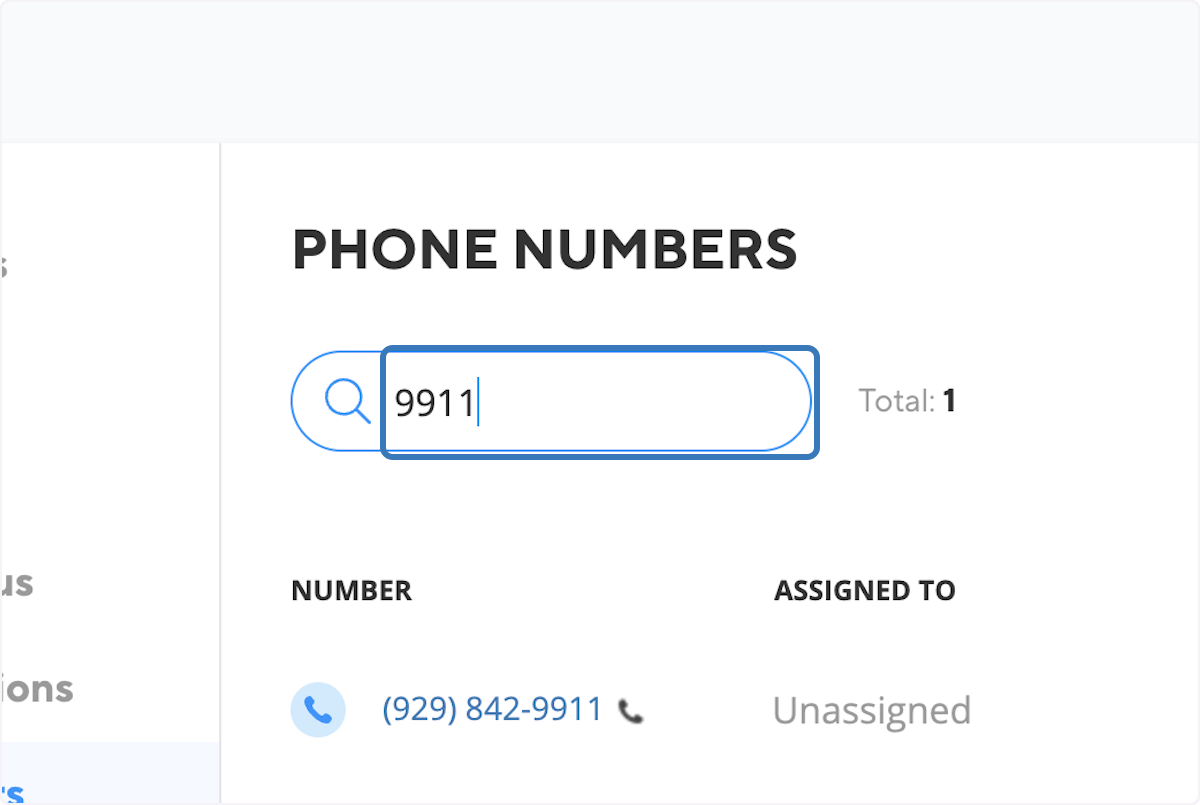
14. Search the phone number you would like to forward from.

It's always a good idea to take a snapshot of the current routing settings so that you can remember them in case you need to revert to the previous settings.
Here's a quick step-by-step guide on how to take a screenshot on both a PC and a Mac:
**For PC:**
1. Press the 'PrtScn' (Print Screen) key to capture the entire screen. The screenshot is copied to your clipboard.
2. To capture just the active window, press 'Alt + PrtScn.'
3. Open a program like Paint or Word, and paste the screenshot using 'Ctrl + V.'
4. Save the file to your desired location.
**For Mac:**
1. To capture the entire screen, press 'Shift + Command + 3.' The screenshot will be saved to your desktop.
2. To capture a specific portion of the screen, press 'Shift + Command + 4,' then select the area you want to capture by dragging your cursor.
3. The screenshot will be saved as an image file on your desktop.
Remember to name and organize your screenshots for easy reference in the future.
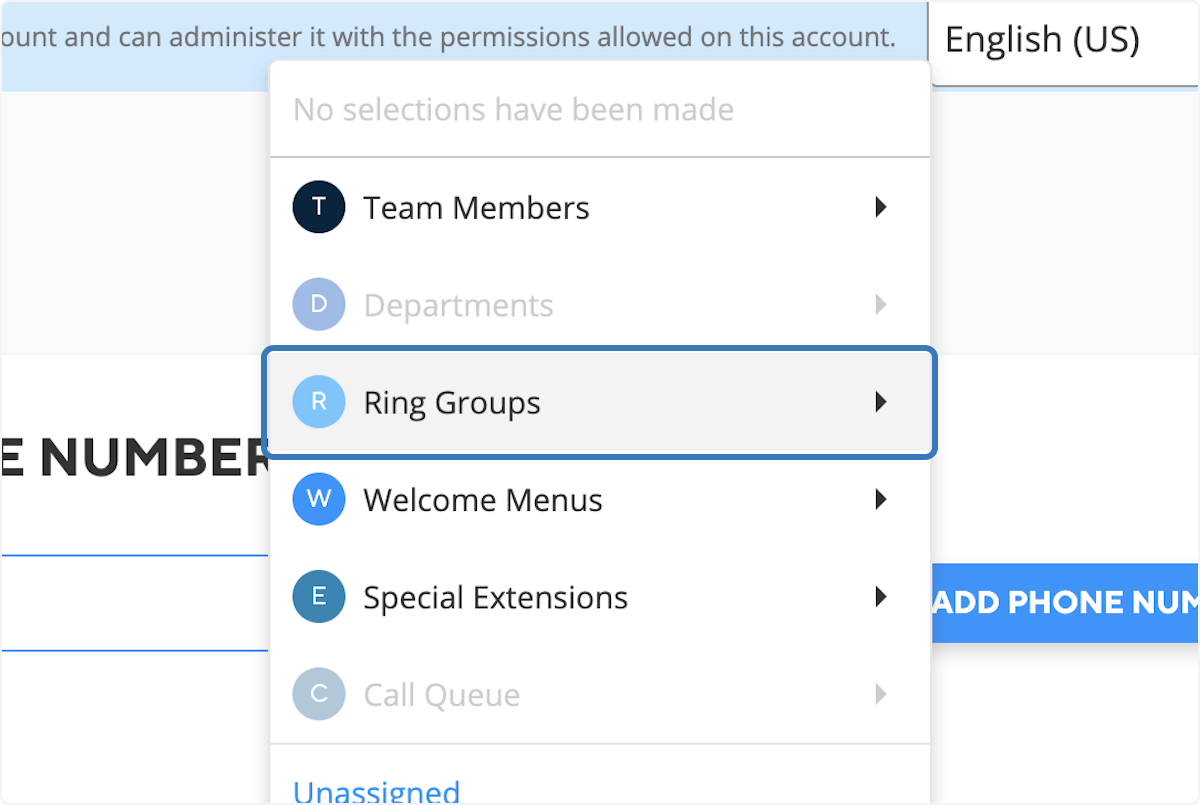
15. On the number dropdown choose "Ring Groups"
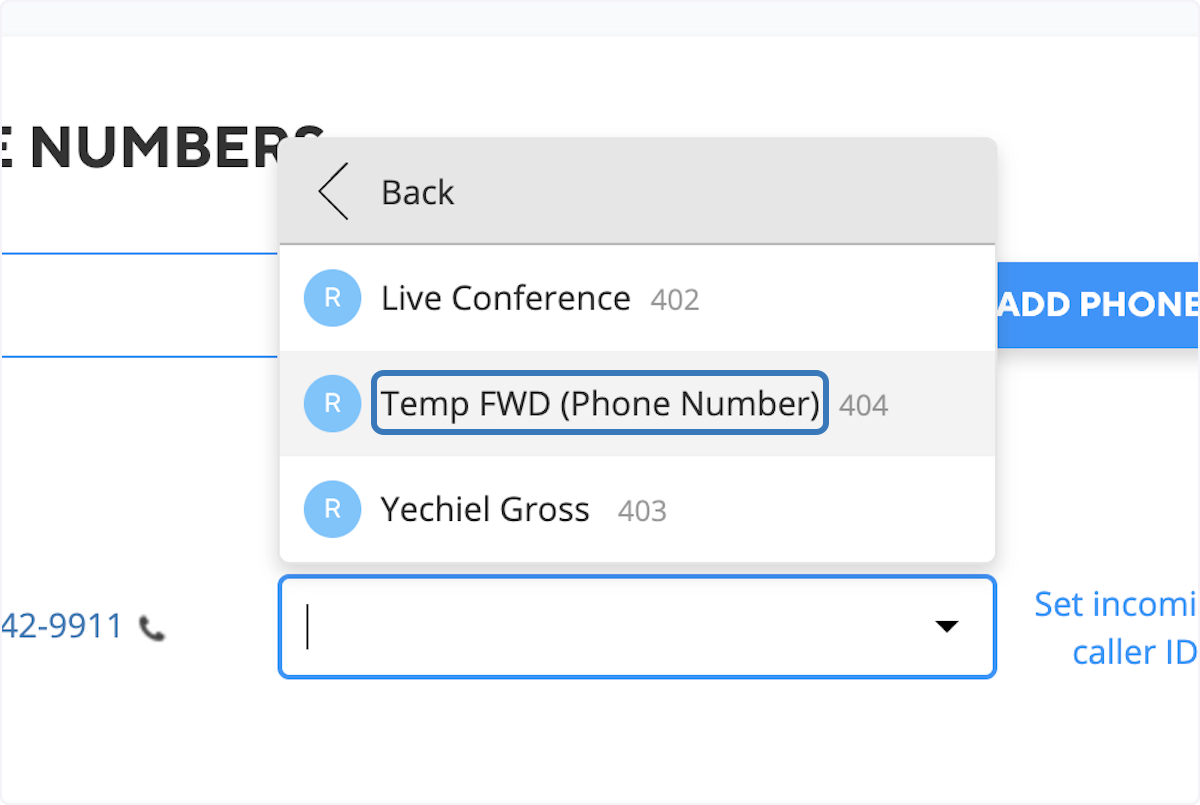
16. Then choose the ring group you just set up.
Related Articles
Net2phone how to add a new phone number
In the forthcoming guide, you'll be guided through the process of acquiring a new DID on your Net2Phone admin portal. Step one would be to login to the online platform by clicking the following link net2phone Portal Login, for instructions on how to ...Net2phone how to set up a conference number (Recurring meeting)
Below, we will guide you through the process of establishing a recurring meeting using the Net2Phone Huddle platform. Every user in your phone system is automatically granted a complimentary Net2Phone Huddle account. This feature proves invaluable if ...Net2phone how to point phone numbers
In the following guide, we will demonstrate how you can route your phone numbers. Phone numbers can be routed directly to team members' phones, voicemail, or to welcome menus, ring groups, departments, and call queues. Step one would be to login to ...Net2phone how to provision your desk phone
In the following guide, we will walk you through adding a desk phone to your Net2Phone account and associating it with a user extension. See below for a list of devices available for zero-touch provisioning) Before you begin, please note that if your ...Net2phone how to provision Grandstream WIFI cordless phone
In the guide below, we will show you how to provision the Grandstream WIFI cordless phone. Please note that this guide is specifically tailored for the WP810 module; however, the process is similar for all Grandstream WIFI cordless phones. 1. You ...